Description
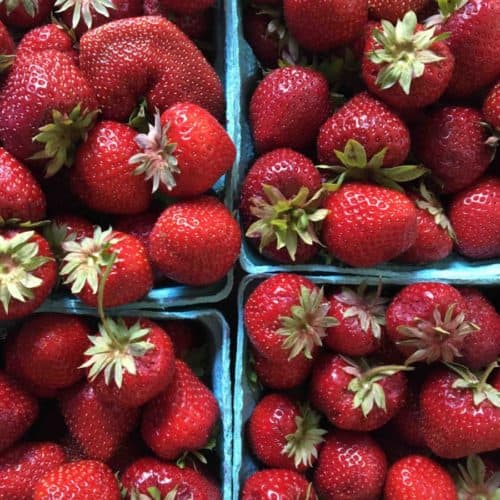
It’s strawberry season and the kitchen counter is filled with canning jars, sugar, and berries. I gave up making jam with pectin long ago. Leaving out the commercial pectin brings out a true strawberry flavor, yet takes longer to boil. The trick is to work with the natural pectin in the fruit, along with the added pectin in the lemon zest and juice.
Invest in a candy thermometer to save yourself the guesswork of wondering if the jam has reached the proper temperature and jelly stage. I’ve made this recipe many summer, and it produces a reliably thick, chunky jam that truly tastes like real fruit, with a deep, dark cranberry red color.
Ingredients
2 quarts strawberries
5 cups sugar
2 lemons, zested and juiced
Instructions
In a large bowl, immerse berries with cold water to clean. Rinse berries under water, and transfer by lifting out with your hands into a colander, leaving behind any residue from the garden. Trim the tops, and slice larger berries in half, measure out 8 cups. Transferring them into a deep 8-quart kettle.
Pour the sugar over the berries, gently press the berries with a potato masher to release juices, and combine with the sugar, leaving some smaller berries whole will give the jam a chunkier texture. Let the berries and sugar sit for up to two hours or overnight.
Add the lemon juice and zest, and turn the heat on low at first, and then higher to bring the sugar and berries to a simmer, then to a full boil. Stir with a wooden spoon as the sugar and berries completely blend together. Keep stirring while cooking over a moderately high heat as the berries bubble and reduce.
After about 20 minutes, check the temperature with a candy thermometer. It may hover just below the 220° (jelly stage) mark for a long time, so be patient and keep stirring and checking. Meanwhile, wash and hot-water bath your jars (or run them through a dishwasher), and place the lids in a bowl with boiling water to sterilize.
When the jam finally hits the 220° mark, turn off the heat. Fill the hot sterilized jars, and secure lids. Flip over to seal the lids. Remember to finish the jars with label, listing ingredients and the date.


